Granny Jester Hat Free Pattern
- lizzieb777
- Jan 14
- 3 min read
Updated: Mar 24
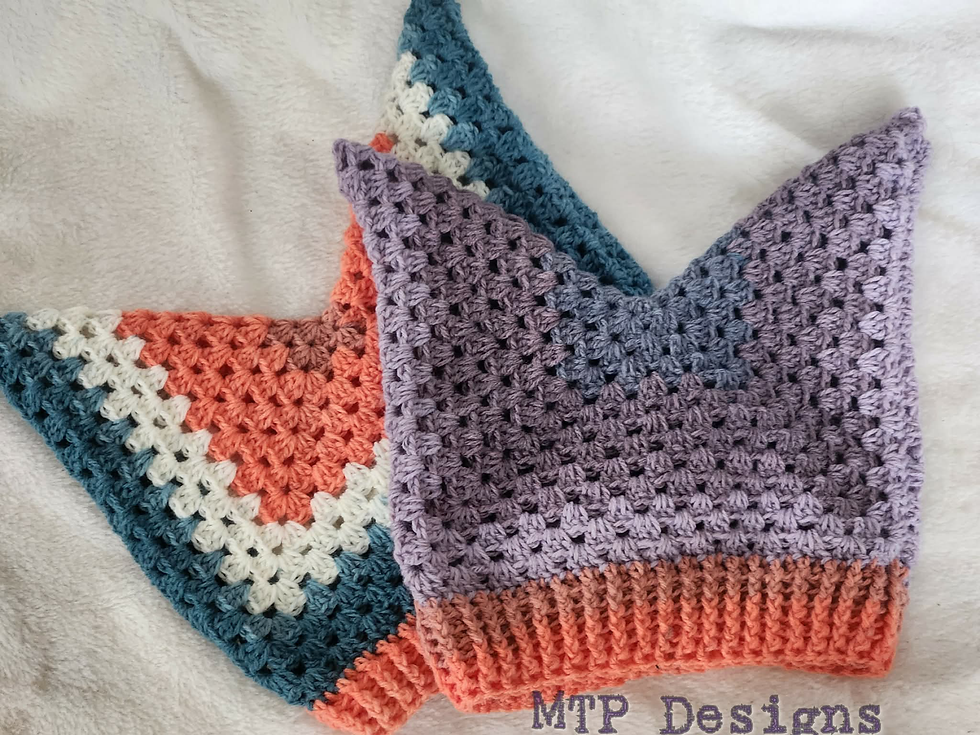
Granny Jester Hat
brought to you by MTP Designs
a subsidiary of Madd Tea Party Boutique
Copyright 2026

Materials:
#4 medium weight yarn, approx 200 yards
Whatever hook size is appropriate for your yarn
Needle for sewing in ends and attaching pieces
Measuring Tape
Medium pompom maker
Stitch Guide:
sl: slip stitch
ch: chain
sk: skip
st: stitch
bb: back bump
yo: yarn over
mc: main colour
ac: accent colour
blo: back loop only
flo: front loop only
dc: double crochet
fpdc: front post double crochet
bpdc: back post double crochet
Special Instructions: I suggest using the invisible dec wherever a dec is called for
When making this hat, gauge is not relevant, use the hook that is appropriate for your yarn weight, because size is determined by measuring your piece before you finish it
This is your typical “granny” stitch, where clusters of 3 dc are worked into the spaces between the dc clusters of the round before.
Meet the Maker: Hi! I'm Lizzie Livett-Buchanan, the strange and unusual mind behind the strange and unusual designs from MTP Designs. I love to create the weird, the unusual, and sometimes even the macabre! I hope you enjoy making this as much as I enjoyed
writing it! I love to see what people come up with working with my patterns, so
please join us in my group on facebook!!
Average Hat Size determined by measuring the brim:
Child: 19-20”
Adult: 22-23”
Measure one side of the hexagon and multiply that by 2


Hat Body:
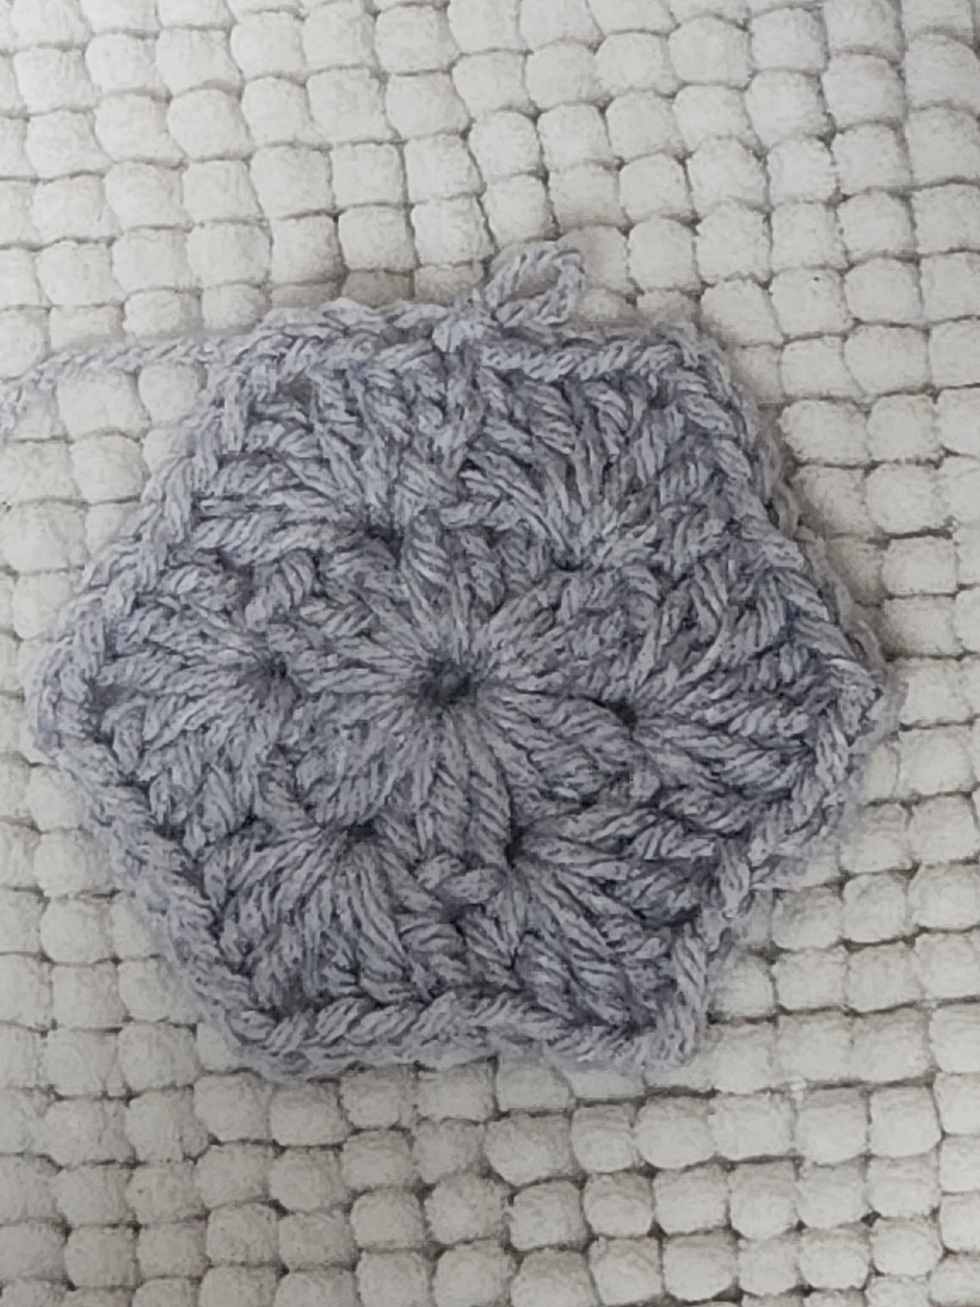
The hat body is made using a hexagon shaped granny “square”, the following instructions teach you how to make the hexagon shape, which can be used to make many different things, here we will turn it into a Jester Cap!
Start with a magic circle, or ch 4 with a sl to join, however you feel comfortable starting on the round
Round 1: ch 3 (counts as first dc here, and throughout the pattern unless otherwise stated), 2 dc,
(ch 1, 3 dc) x5, ch 1, sl to the top of the ch 3 to join, sl to the first ch sp (18)
Round 2: ch 3, 2 dc + ch 2 + 3 dc in the first ch space, 3 dc + ch 2 + 3 dc in each of the ch sp around,
sl to the top of the ch 3 to join, sl to the first ch sp (36)
*** at this point you should have 6 sides ***
Round 3 – 11: (or the round you finish on for your size) ch 3, 2 dc + 3 dc in the first ch 2 space, 3 dc in each space between dc clusters from the round before, 3 dc + ch 2 + 3 dc in each corner, sl to the top of the ch 3 to join, sl to the first ch sp (54) incr each round by 18

Fold as pictured below, ensuring the wrong side is facing out so your seam is on the inside:

Holding the two sides together, as pictured, sl up the side to close, then finish off and weave in ends, attach yarn to bottom corner of the other side, and repeat:

Brim:
Turn your hat right side out for the next set of instructions
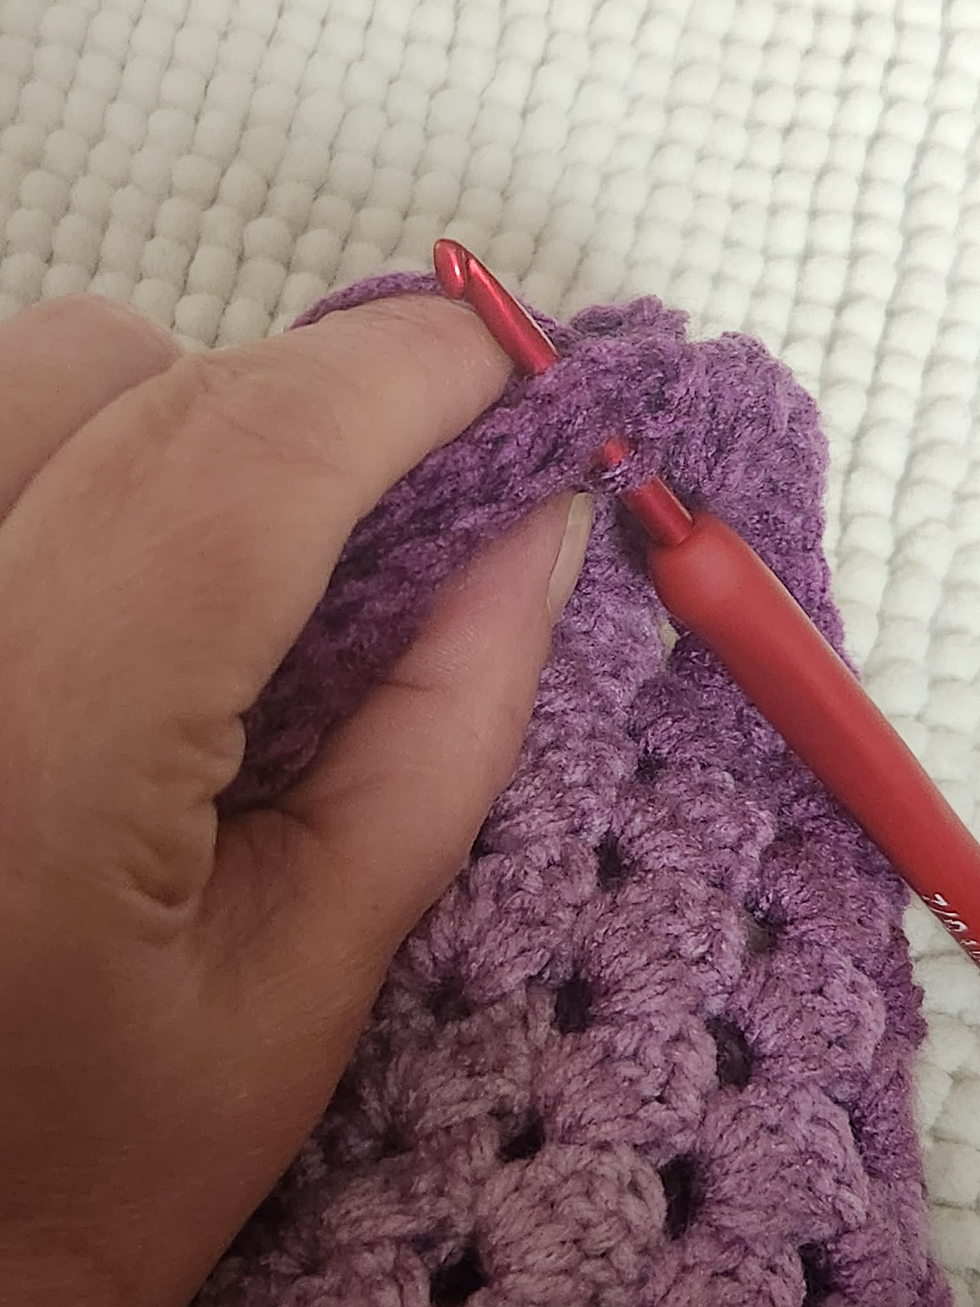
Attach yarn to the first dc by the seam at the side, as pictured below:

Round 1: 1 dc in each dc around, when you reach the seams you will notice two spaces where the ch 2 from the previous sections are, place 1 dc in each of those spaces, sl to join
*** your stitch count at the end of this round may vary, it will depend on how many
rounds of granny st you made, the exact number is irrelevant, as long as you have an
even number of stitches at the end of the round ***
Round 2 – 6: ch 1, (1 fpdc, 1 bpdc) repeat around, sl to join (st count varies)
Finish off and weave in ends
Copyright 2026 MTP: Designs, a subsidiary of Madd Tea Party Boutique, do not share or sell this pattern either in part or as a whole. You are free to make any items you wish from this pattern either for personal use or for sale, just give credit for pattern back to MTP: Designs and/or Madd Tea Party Boutique.
I also have a group specifically for my patterns, and getting help and sharing your creations:
Follow me on IG and FB to find when I release new patterns


